
“No one is born a good cook, one learns by doing.”
Julia Child
Cooking is an essential part of self-care, however, many people are intimidated by this task. Preparing a meal can feel like a huge effort, but it doesn’t have to be! Presenting (drum roll please)... THE PLATED MEAL.This is the best place to start for the novice cook. To create a plated meal choose one from each of the following:
A protein such as chicken, salmon, or tofu, for example.
A carbohydrate such as pasta, sweet potato, or rice.
And a vegetable like spinach, asparagus, or salad.
Place them together on a plate, and voilà, you’ve got a simple, perfectly balanced meal! Make sure to check in with your individual RD to assure you are plating correct portion sizes to meet your meal plan.
The plated meal is great not only due to its simplicity, but also because it allows room for creativity and opportunities to increase your variety. When meal prepping, you can prepare many different options to mix and match throughout your week.
Another reason this type of meal is so wonderful is because it offers many opportunities for you to incorporate potentially challenging foods alongside “safer” ones. No matter what aspect of recovery you find yourself, consistent exposure to challenging foods may be difficult to do on your own. By letting our healthy selves plan challenging food exposures ahead of time, we can more easily present ourselves with the foods we want to overcome.
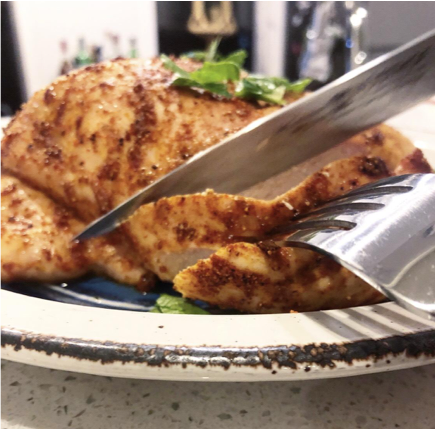
This week I decided to keep it simple and chose to prepare baked chicken breast, brown rice, and a side salad. Below you can find my recipe for simple, yet delicious, baked chicken breasts. I hope this recipe will become a staple in your kitchen like it is in mine. Happy cooking!
Baked Chicken Breasts
Prep time: 10 min
Cook time: 20 min
Difficulty: Easy
Servings: 3
GROCERY LIST:
o 3 boneless, skinless chicken breasts
o Olive oil
o Seasonings of your choice
o Meat thermometer
DIRECTIONS:
Preheat your oven to 450 degrees. Remove the chicken from the packaging and pat dry with a paper towel.
Place the chicken in a roasting pan (assure the pan has raised sides so the juices don’t spill out). Pour roughly 1 tbsp (just eyeball this) of olive oil over the chicken and rub it into both sides evenly.
In a separate bowl mix your seasonings. I recommend using 1 tsp salt, ½ tsp pepper, ½ tsp garlic powder, and ½ tsp paprika. Sprinkle the seasonings over the chicken and rub it into both sides evenly.
Bake for 15-20 minutes. The cooking time will vary depending on how thick the chicken is, so I recommend using a meat thermometer to check when it is done. In the middle of the thickest part of the breast it should read at least 165 degrees. If you don’t have a meat thermometer (they sell on Amazon for $25!) you can cut one open to assure it is cooked through and no longer pink.
Once the chicken is fully cooked, remove the pan from the oven and transfer the chicken to a clean plate. Let cool for 5-10 minutes. Serve with a carb and veggie of your choice. You may also store in a tupperware in the refrigerator for up to 3 days for easy meals later in the week! Enjoy!